Configure Outlook Client for IMAP Email
1. Go to your Outlook mail settings
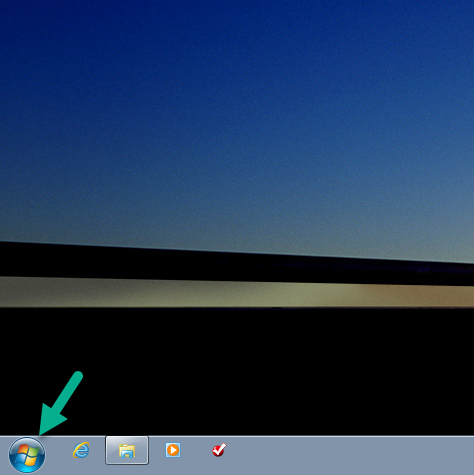
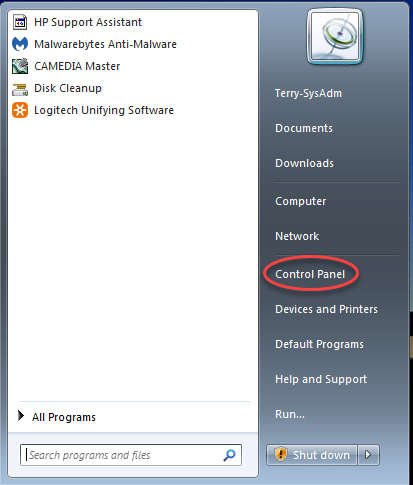
From Start > Control Panel > Mail > Show Profiles > Add. If you cannot locate the Mail icon in Windows Control Panel, turn on Classic View (click Classic View on the left side of the Control Panel window).

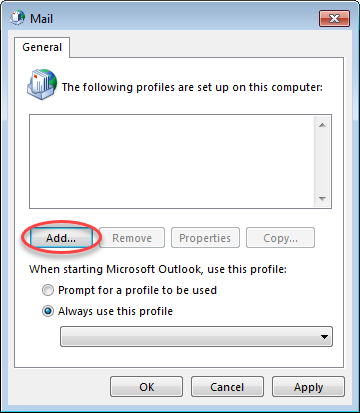
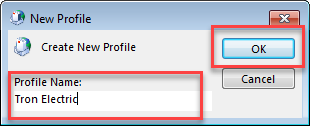
2. Enter a new profile name. Then click "OK"
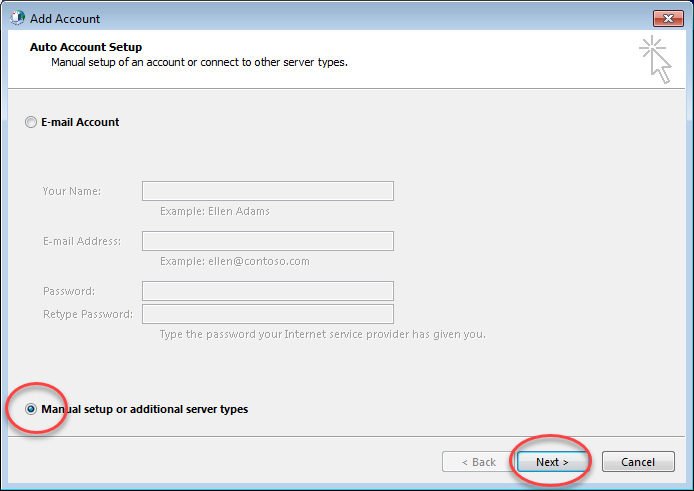
3. Then select "Manual setup or additional server types" and click "Next"
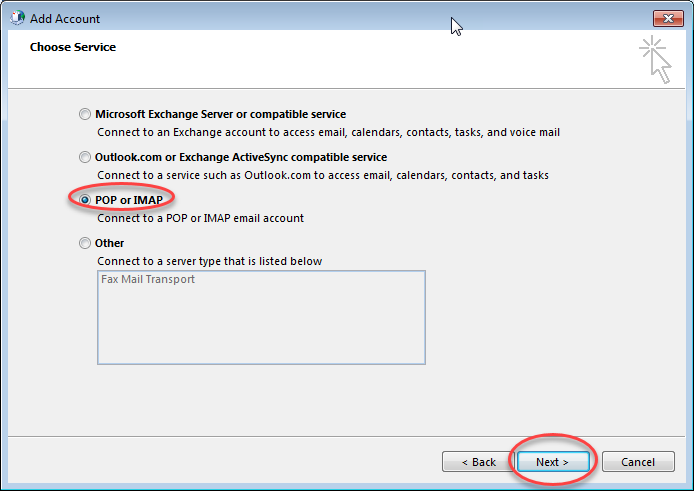
4. Select "POP or IMAP" then click "Next"
5. Enter the recommended information provided by Elevology in the fields below. Then click on "More Settings"
(Remember to check "Remember password" so you do not have to enter it each time you open your Outlook.)


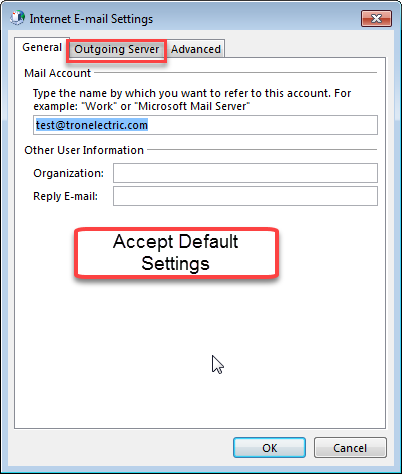
6. On the General tab accept the default setting
Then navigate to the "Outgoing Server" tab and make sure the check box next to “My outgoing server (SMTP) requires authentication†is check and that the radio button to the left of “Use the same settings as my incoming mail server†is selected.
 <
<
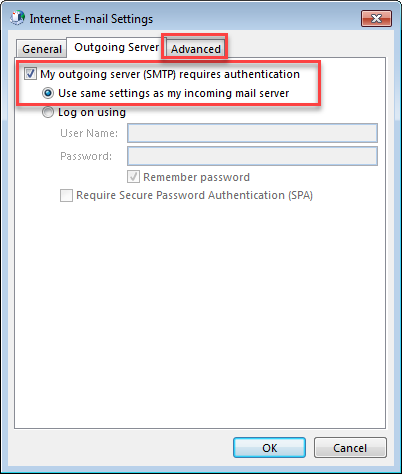
7. Navigate to the "Advanced" tab.
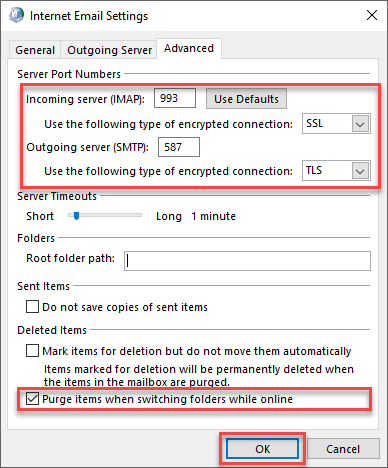
Select SSL encryption on Port 993 for the Incoming serverÂ
For the Outgoing Server you have two choices:
- SSL on port 465 (recommended), if this does not work then try TLS
- TLS on port 587 (shown below)
Click OK
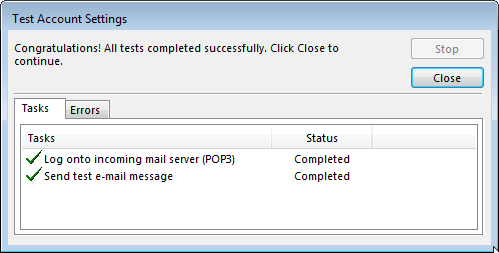
8. If you typed everything in correctly you will see the below message. Click on "Close"
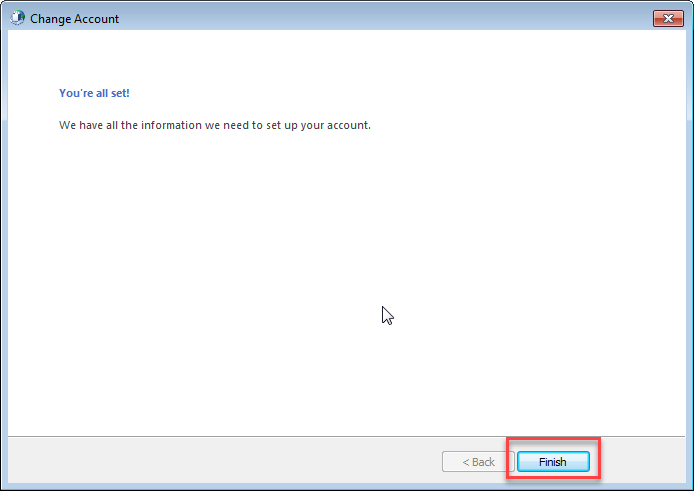
9. Then click on "Finish"
10. If you are setting up only one profile:
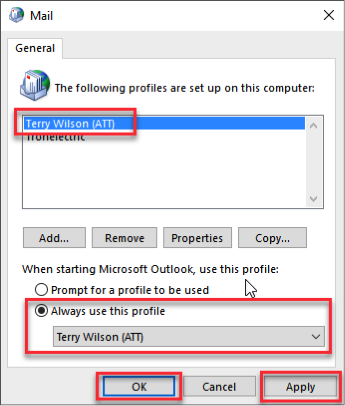
Verify that your new profile is displayed in the box below "Always use this Profile" and make sure this radio button is selected. Click "Apply" and then click "OK".
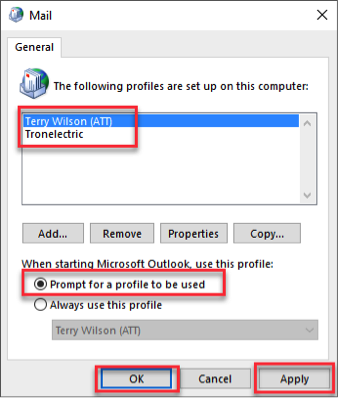
Note: If however you are setting up multiple profiles and will be switching between them, make sure the "Prompt for a Profile to be used" radio button is selected. This will allow you to select the profile you want Outlook to startup with.
11. Now open your Outlook.
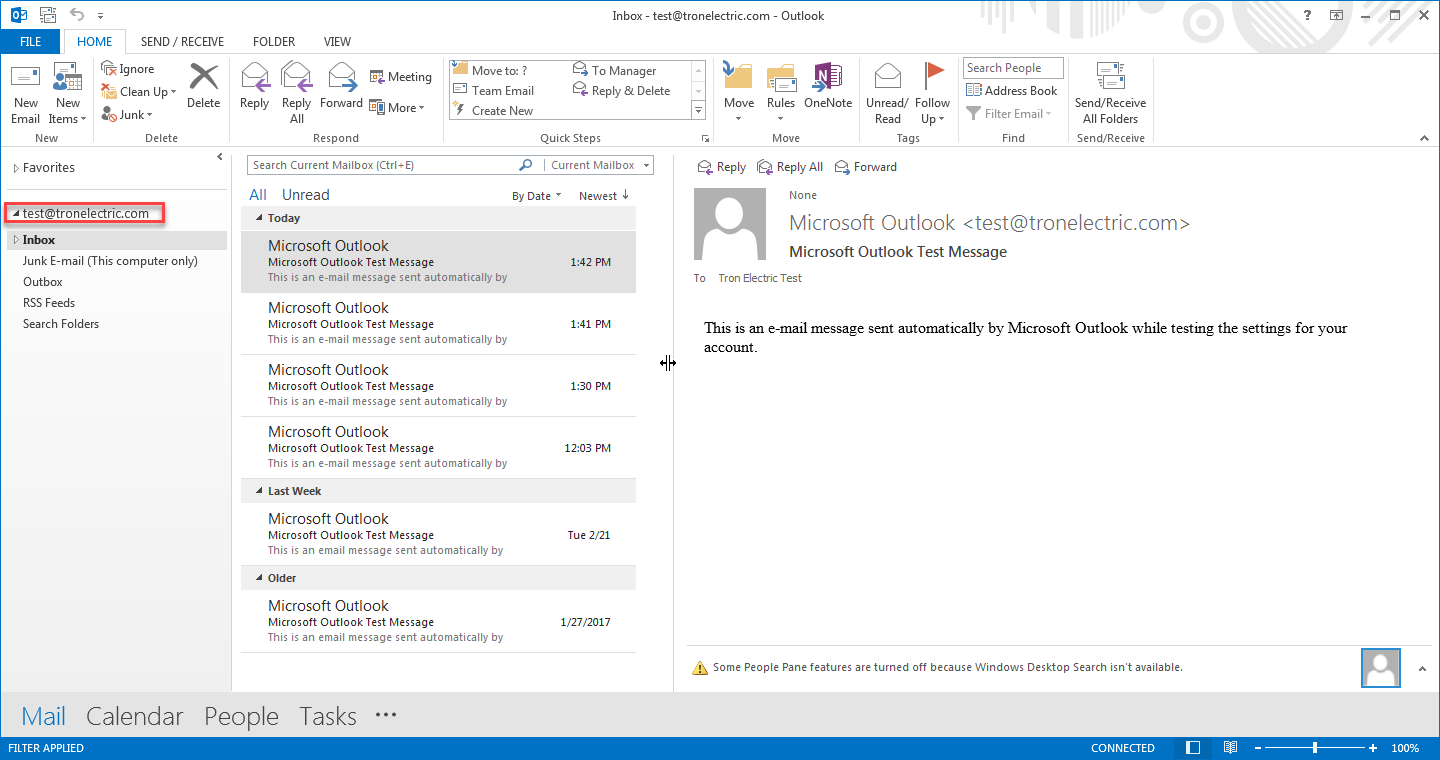
If you see a message to enter your password enter the password and remember to check "Remember password". You will see the mailbox on the left hand side. If your Outlook looks similar to this you have successfully configured your company email.
